Designing the electrical layout for your home is a crucial step in building or renovating. It not only ensures functionality and safety but also enhances the overall efficiency of your living space. Whether you’re building a new home or upgrading an existing one, having a well-thought-out electrical plan can make daily life smoother and future upgrades easier.
In this guide, we’ll walk you through the key steps and considerations involved in designing an electrical layout for your home.
Why Electrical Layout Planning is Important?
Before jumping into the process, it’s important to understand why proper electrical planning matters.
Safety First
Improper or outdated wiring can be hazardous, leading to short circuits, electrical fires, or electrocution risks. A well-designed electrical layout ensures all systems are compliant with Australian safety standards.
Functionality and Convenience
Planning ensures that outlets, switches, and lighting are placed where you need them most. It reduces reliance on extension cords and awkward setups.
Future-Proofing
Smart planning makes it easier to add new devices or upgrade systems later without costly overhauls.
Step-by-Step Guide: How to Design Electrical Layout for Home
Designing your home’s electrical layout involves several stages. Here’s a breakdown of each step to help you through the process.

Step 1: Understand Your Household Needs
Before putting anything on paper, consider how you’ll use each space in your home.
- List Appliances & Devices: Identify all major appliances, entertainment systems, computers, and other electronic devices.
- Consider Habits: Think about where you usually charge phones, watch TV, or read. Each habit may require a conveniently placed outlet or light.
- Room Purpose: The electrical needs for a kitchen differ greatly from those of a bedroom or a home office.
Step 2: Create a Basic Floor Plan
Start by sketching a simple floor plan of your home. This doesn’t have to be architectural-level quality—just a clear map of each room, door, and window.
- Mark walls, windows, doors, and fixed furniture.
- Include dimensions to guide outlet placement and wiring distance.
You can use software like SketchUp or even graph paper if you’re doing it by hand.
Step 3: Plan Lighting Layout
Lighting is one of the most important aspects of your electrical design.
General Lighting
- Ceiling fixtures, downlights, or pendant lights
- Usually controlled by a single switch near the room entrance
Task Lighting
- Kitchen benches, bathroom mirrors, study desks
- Should be bright and focused
Accent Lighting
- Used for ambience or to highlight artwork or architectural features
Tip: Use multiple circuits in larger rooms for better lighting control.
Step 4: Position Power Outlets and Switches
Now that you’ve planned the lighting, it’s time to think about where you need power points.
Outlet Guidelines
- Place at least one double outlet per wall in each room.
- Install extra outlets in high-use areas like kitchens, bathrooms, and home offices.
- Position outlets 300mm above the floor, or higher in utility areas.
Switch Placement
- Place switches next to doorways (about 1100mm from the floor).
- Use two-way switches for large rooms or hallways with multiple entrances.
- Don’t forget outdoor lighting and security system controls.
Step 5: Plan Circuit Distribution
Electrical systems are divided into circuits to balance load and improve safety.
Typical Circuits Include:
- Lighting circuit
- General power circuit
- Kitchen appliances
- Air conditioning
- Water heater
- Laundry appliances
Each circuit should have its own breaker on the switchboard. An experienced electrician will calculate the load to ensure circuits are not overloaded.

Step 6: Include Safety Features
RCDs (Residual Current Devices)
Mandatory in Australia, RCDs protect against electrocution by shutting off power quickly if a fault is detected.
Circuit Breakers
Prevent overload and short-circuits by automatically shutting off affected circuits.
Surge Protectors
Protect sensitive electronics from voltage spikes due to storms or grid issues.
Smoke Alarms
Legally required in all Australian homes. Ensure they are hard-wired with battery backup and strategically placed in bedrooms and hallways.
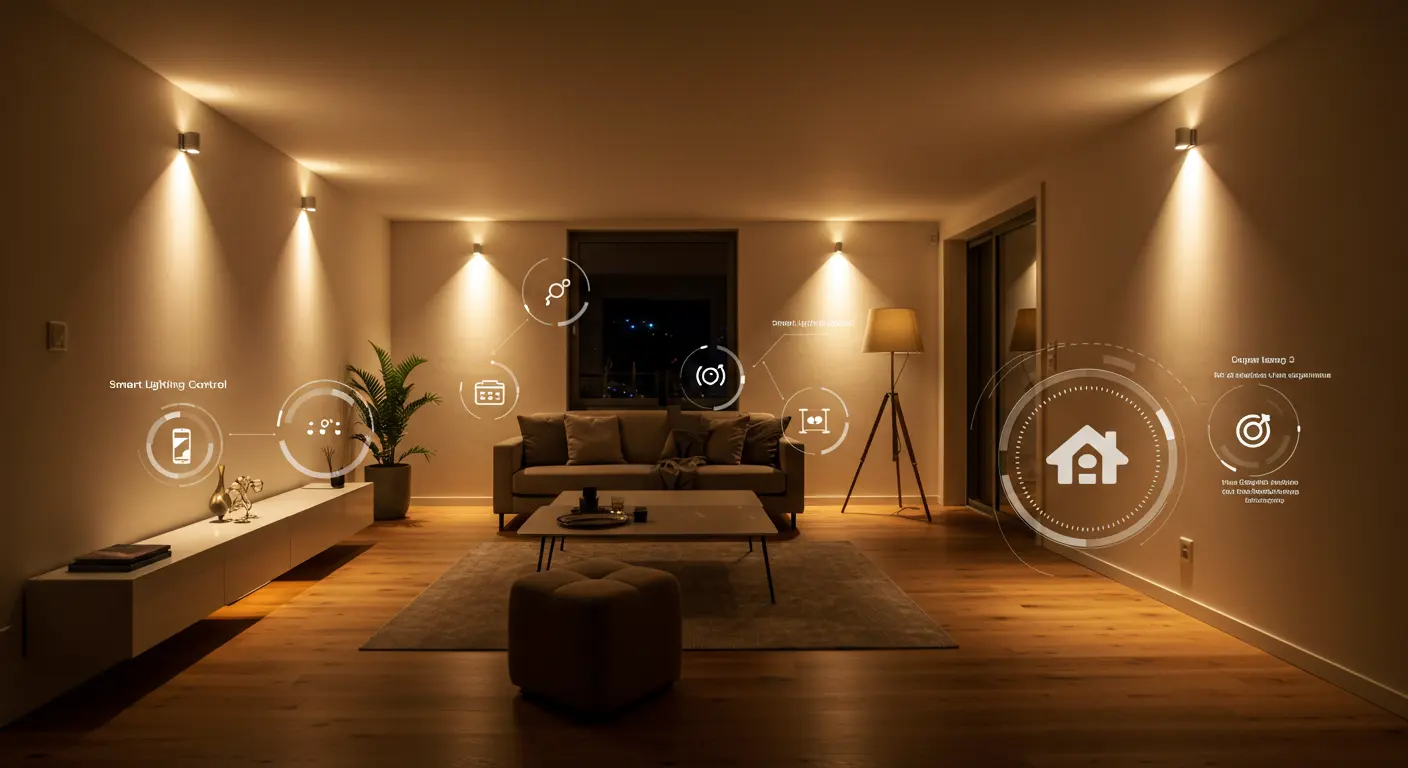
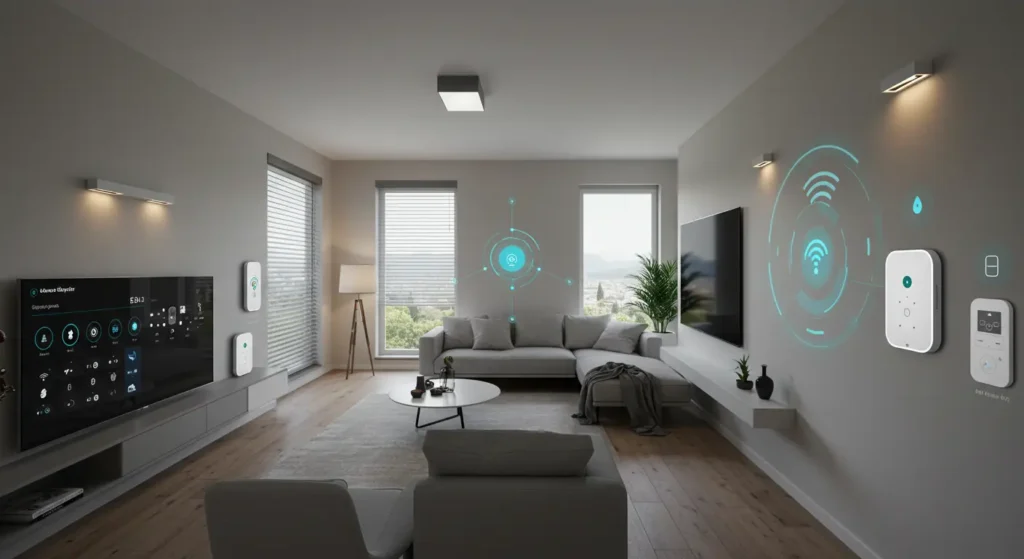
Smart Home Integration
With the rise of home automation, it’s worth considering smart technologies when designing your electrical layout.
Smart Switches and Dimmers
Allow you to control lighting via apps or voice commands.
Smart Plugs
Great for controlling appliances remotely and tracking energy usage.
Structured Cabling
If you’re planning on a home theatre or high-speed internet, consider installing Cat6 data cables alongside your electrical wiring.
Electrical Layout Tips for Specific Rooms
Kitchen
- Plan for appliances: fridge, oven, microwave, dishwasher, etc.
- Add extra outlets for toasters, blenders, and other benchtop devices.
- Install switches for range hoods and under-cabinet lighting.
Living Room
- Place outlets near the entertainment center.
- Install antenna and data points together for TVs and streaming devices.
- Consider USB outlets for device charging.
Bedroom
- Switches beside the bed for convenience.
- Power points for lamps, chargers, and alarm clocks.
- Consider dimmers for mood lighting.
Bathroom
- Waterproof outlets at a safe distance from water sources.
- Heat lamp and exhaust fan wiring.
- LED mirror or vanity light installation.
Common Mistakes to Avoid
Even with the best intentions, some design mistakes can lead to future frustrations.
Overloading Circuits
Avoid plugging too many appliances into one outlet or circuit—this can be dangerous.
Insufficient Outlets
Not planning enough outlets is one of the most common regrets in home design.
Poor Switch Placement
Placing switches behind doors or in awkward locations makes daily use inconvenient.
Ignoring Outdoor Needs
Don’t forget to include external outlets and lighting for your patio, garage, or garden.
Final Electrical Layout Checklist
Before handing your plan to an electrician, make sure you’ve:
- Created a floor plan
- Identified appliance and lighting needs
- Plotted all switches and outlets
- Designed individual circuits
- Included smart home considerations
- Planned for future expansion
- Factored in safety components
Work With a Licensed Electrician
Designing an electrical layout is one part creativity, one part technical know-how. Even if you create your own plan, it’s essential to work with a licensed electrician to bring it to life safely and legally.
At Blue Ridge Electrical, our expert electricians help homeowners across Australia design, install, and optimise electrical systems that are safe, efficient, and tailored to your lifestyle. Whether you’re building a new home or renovating, we’re here to help every step of the way.
Conclusion
Designing your home’s electrical layout doesn’t have to be overwhelming. With thoughtful planning and the help of qualified professionals, you can create a system that’s functional, safe, and built for the future.
Ready to get started on your home’s electrical layout? Contact Blue Ridge Electrical today for a consultation!
