You’re about to begin a major home renovation, excited about the transformation your home will undergo. But before that first hammer swings, have you considered the state of your home’s electrical system? One overlooked wiring or poorly placed outlet can bring your entire project to a halt or, worse, lead to costly repairs and safety hazards.
Preparing your Tweed Heads home for an electrical project is crucial for safety and long-term convenience. Whether you’re renovating a single room or overhauling your entire space, proper electrical planning ensures your project runs smoothly from start to finish.
Read on for step-by-step tips on how to prepare your Tweed Heads home for any electrical project.
Step 1: Assess Your Current Electrical System
Before getting started on any electrical project, it’s essential to thoroughly assess your current electrical system. Start by checking the condition of your wiring, outlets, and switchboard.
Are they outdated or damaged? Many homes in Tweed Heads may still have old wiring that isn’t compatible with modern appliances or safe to use in today’s standards.
Key Tasks:
- Inspect wiring: Look for signs of wear, including frayed wires or discoloured outlets. If you’re unsure, contact a licensed electrician in Tweed Heads to evaluate your system.
- Check for load capacity: Ensure your home’s electrical system can handle the new appliances and fixtures you plan to install.
- Upgrade your switchboard: If your home is still using old fuse boxes, consider upgrading to a modern switchboard with safety switches for better protection.
Understanding your existing electrical system can help you make informed decisions about upgrades or changes that may be required.
Step 2: Plan Your Electrical Layout
Once your current system is assessed, it’s time to develop a detailed electrical plan for your project. This is where you decide the location of outlets, light switches, lighting fixtures, and other electrical appliances.
Poor planning can lead to inconveniently placed switches or insufficient power points.
Room-by-Room Breakdown:
- Kitchen: Consider where your high-power appliances, such as microwaves, refrigerators, and ovens, will be placed. Ensure you have enough outlets, particularly near countertops, to avoid relying on power boards later.
- Living Room: Plan where your television and entertainment system will be, and ensure the outlets are placed behind furniture for a cleaner look. Think about the convenience of having power points near couches for charging devices.
- Bedrooms: Place power points on either side of the bed for lamps, charging devices, or other electronics. Adding outlets with USB ports can be a smart move for modern conveniences.
When planning your layout, consider future-proofing your home by adding additional outlets in strategic locations, even if you don’t need them immediately.
Step 3: Focus on Safety Measures
It’s easy to overlook the importance of proper safety precautions, but taking the time to ensure your home is safe can prevent serious accidents down the road.
Safety Considerations:
- Install safety switches: These are designed to automatically turn off the electrical supply in the event of a fault, lowering the risk of electrical fires or shocks.
- Childproof outlets: If you have young children or are planning to, install child-safe outlets to prevent accidents.
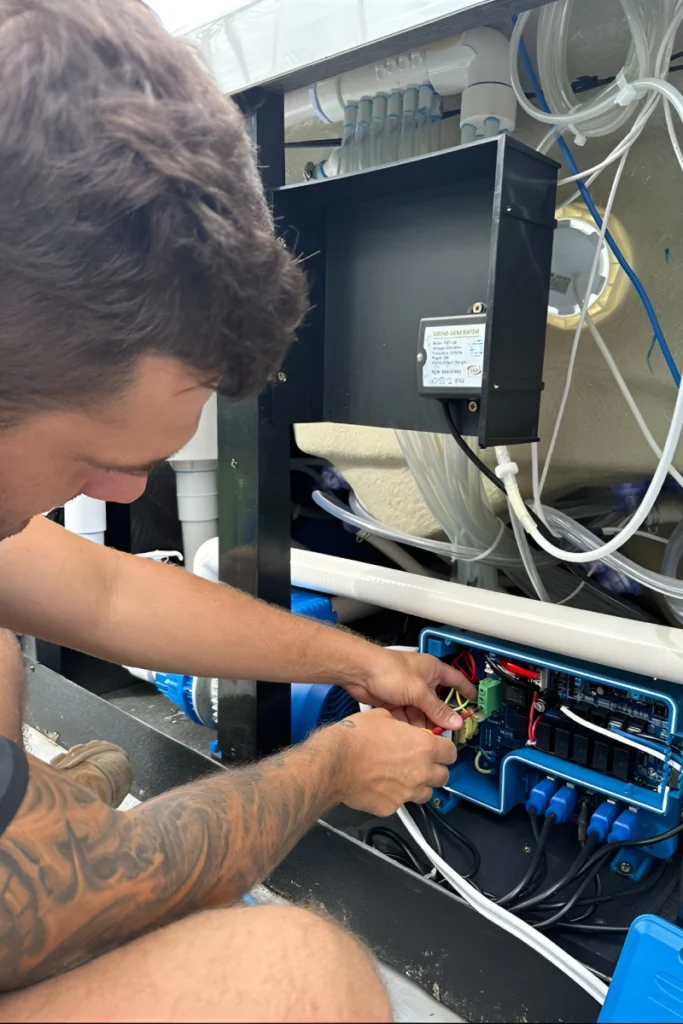
- Hire a licensed electrician: Always have a certified professional inspect your electrical system and complete the installation to make sure compliance with local regulations and safety standards.
Step 4: Consider Energy Efficiency
Energy efficiency is a great way to help the planet and save money in the long run. When planning your electrical project, take advantage of energy-efficient lighting, appliances, and fixtures to save on energy consumption and utility costs.
Energy-Saving Tips:
- LED lighting: Replace traditional bulbs with LED lights that use up to 75% less energy and have a longer lifespan.
- Smart home systems: Incorporating smart technology allows you to control lighting and appliances remotely, optimising energy use.
- Solar power: If you’re planning major electrical upgrades, consider installing solar panels to reduce your reliance on the grid and lower your electricity bills.
Step 5: Prepare for Outdoor Electrical Needs
Many homeowners focus solely on the interior when planning an electrical project, but outdoor electrical needs are equally important, especially in a climate like Tweed Heads where outdoor living is a way of life.
Outdoor Considerations:
- Garden and security lighting: Plan where you want your outdoor lights for safety and aesthetics. Motion-sensor lights are ideal for security, while softer lighting can enhance your garden or patio.
- Outdoor power points: Think about adding power points outside for future projects like garden appliances or entertainment setups. Having outdoor power options ensures you’re prepared for anything, from holiday decorations to weekend barbecues.
Step 6: Work with a Licensed Electrician
The final step in preparing your home is to hire a licensed and experienced electrician. A professional will help you navigate the complications of modern electrical systems and see to it that your project is completed safely.
What to Expect:
- Consultations: Your electrician will help refine your electrical plan, ensuring everything is up to code and optimised for functionality.
- Professional installation: They’ll handle everything from wiring to switchboard upgrades, ensuring every element is installed correctly.
- Safety checks: After installation, a licensed electrician will perform rigorous safety checks to make sure everything works as intended.

Ready to Start Your Project?
By following these steps, you’ll ensure that your Tweed Heads home is fully prepared for any electrical project. From assessing your current system to planning for energy efficiency, proper preparation is the key to a smooth and successful renovation.
Don’t wait until issues arise—start your electrical project off on the right foot today by consulting with Blue Ridge Electrical.
